
The first week of July, 2002, was a time of severe weather in the San Antonio, Texas, area. Rains in excess of 20 inches over several days extensively flooded the mid-Texas area. Most of us suffered little damage from these storms, but others were not so lucky. My friend Bryan Snow, director of the Scobee Planetarium at San Antonio College, was one of the not so lucky ones. Or, depending on how you look at it, he was VERY lucky. Late on the night of July 2 Bryan's home was struck by lightning and completely destroyed. The lightning strike litterally exploded his roof, sending roofing timbers crashing into his bedroom across the bed. This is the bed he and his wife would have been sleeping if he and his family had not left town the day before to attend a family reuinion. The flaming timbers burned the bed, then the whole house. Bryan's collection of telescopes also either melted or were severely water damaged by three days of severe rain which continued to pour in through the now non-existant roof. At the bottom of the heap lay his Schmidt camera, soaking in hot ash mud. Two great things have come from this tragedy. First, Bryan and his family were unharmed. Second, his insurane company will replace rebuild his house and replace his family's belongings, including his telescopes. The bad news is the the Schmidt camera is unreplacable because they are no longer manufactured. For this reason, Bryan brought the scorched hulk of the camera to me to see if it was salvagable. This afternoon, we performed the initial evaluation. The prognosis is good! The heat did not crack the corrector plate. And although it was scorched, once all the ash was scraped and washed away, the camera has proven to be an extremely robust instrument. Scrubbing and a little sanding has restored the cosmetics of the camera body. After a wash to get the ash and mud out of the camera, we performed some focus tests and were delighted to see the camera was in focus across the field of the film holder. This meant there was no warping of the camera structure because of the heat. Now that the camera has been dried out, the optics will get a proper cleaning tomorrow and the camera will be star tested when this interminable cloud and rain leaves the south Texas area. Right now, I suspect the Schmidt will come through just fine. Here are some pictures we took of the camera this afternoon. It goes to show you can't keep a tough Schmidt camera down!
 |
 |
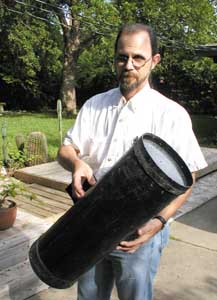
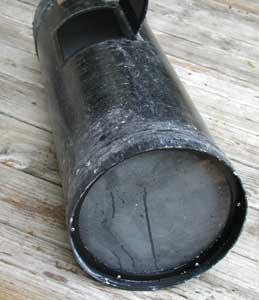
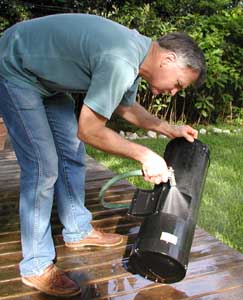
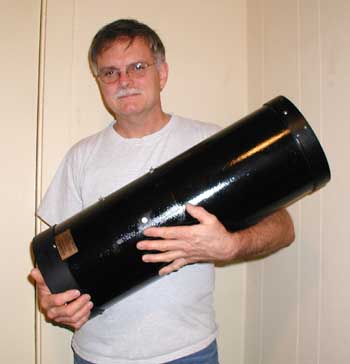
| Bryan Snow holds the scorched tube assembly of his 8-inch Schmidt camera. At this time, the camera had a strong aroma similar to what a wet, recently extinguished camp fire smells like. | After the major clumps of ash were scraped off, the camera looked remarkably intact considering it had been in a house fire. |
 |
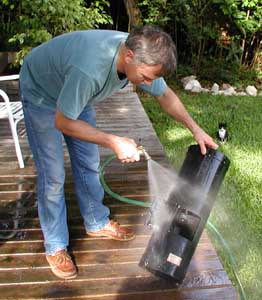 |
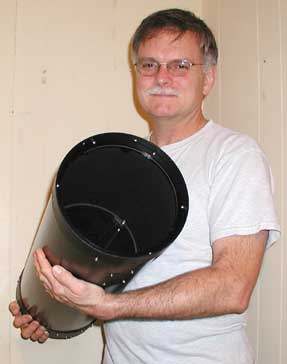
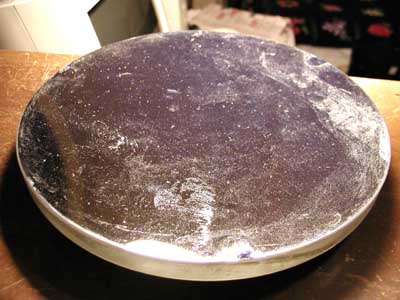
| The corrector plate was completely fogged over with ash residue and condensation from several days exposure to rain after the roof collapsed. | A scrubbing with dish soap and wash cloth removed the caked on ash deposits. A garden hose was then used to rinse the instrument. |
 |
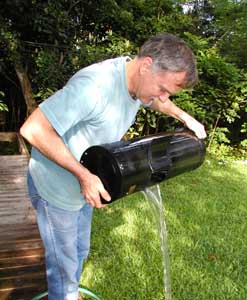 |
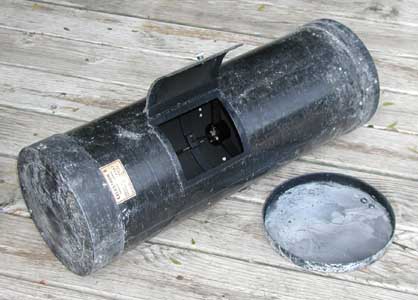
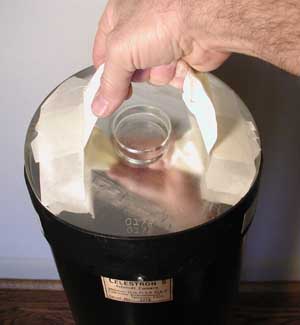
| What to do about the buildup of ash and slime inside the camera? Flush it with the garden hose, of course. For normal cleaning, I would not recommend this technique, but in this case it worked well. | The film loading door comes in handy for the aggresive cleaning needed after the fire. The interior of the camera was remarkably clean after this proceedure. |
 |
 |
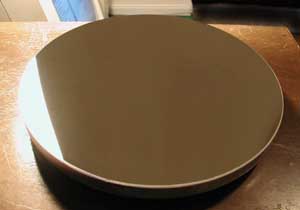
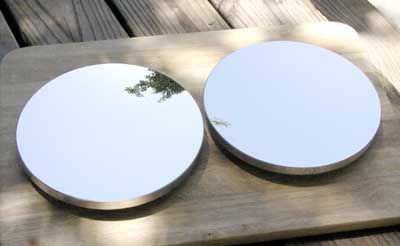
| What a difference a day makes. Today I pulled the corrector plate out of the camera and scrubbed the whole tube assembly with Soft Scrub brand liquid cleanser. Except for where the paint is physically burned off the aluminum front cover that goes over the corrector, the paint is in remarkably clean now. Nicks and dings were retouched with glossy black on the outside and with flat black on the inside. | Lets face it, the corrector plate looked pretty ugly yesterday. After working it over with cottoms balls and liquid dish soap, it now looks pristine. |
 |
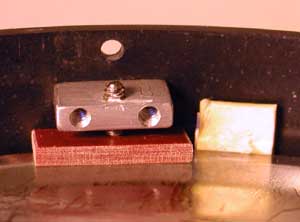 |
| A "handle" made from several layers of masking tape was used to lower the mirror into its cell. There is no finger room between the mirror and tube so this system allows inserting the mirror without having to drop it into the cell. The instrument's serial number was engraved into the mirror back to identify which camera (two are now dissassembed at the same time) it came from and to align the mirror with the camera's serial number plate in the same possition it was in originally. | The mirror retainers were also reinstalled, but their set screws are frozen. I am not sure if this is because the factory applied Locktite to them when the camera was manufactured, or if being submerged in water for several days made them freeze up. The Bakalite pad under one of the set screws was slightly loose, so I shimed it with a slip of typing paper. Once the collimation of the mirror is confirmed through focus tests, the mirror will be locked in place with a bead of silicone between the mirror's edge and the tube. |
Back to -------------------- Schmidt repair Introduction